

Cast iron can be a difficult material to weld due to its high carbon content and sensitivity to sudden temperature changes. If you need to repair a cracked block and want to avoid the post weld cracks that are common with cast iron, you need to control heat throughout the job. Fixing cast iron blocks without post weld cracks takes patience, especially when the casting has already spent years under heat and mechanical stress.
Identify the Type of Cast Iron
Before you weld the block, find out which type of cast iron you’re dealing with. Many engine blocks use gray cast iron, which contains graphite flakes throughout the metal. Those flakes give gray iron useful machining properties, but they leave the casting with limited ductility.
The type of iron affects how the block responds when you introduce welding heat. Manufacturer specifications are useful when you have them. If the casting has no documentation, material testing can help you identify what you’re working with before you select a welding procedure. You don’t want to base electrode selection or temperature control on a guess.
Locate the Ends of the Crack
The crack you see on the surface doesn’t always stop where the visible line disappears. If part of the fracture remains untreated, heat from the repair can give it enough stress to continue through the casting.
Dye penetrant inspection can expose the full path after you’ve removed surface grease from the area. Mark both ends before you begin any grinding or drilling. From there, you know exactly how much of the block needs repair. Missing even a small extension of the original crack leaves damaged metal beside the new weld, which puts the finished repair at risk.
Remove Oil From the Metal
Cast iron has a porous structure, so years of engine oil exposure can leave contamination below the surface. You can wipe the block until it looks spotless and still have oil rise from the metal after heat reaches the area.
Start with a thorough degreasing around the damaged section. Gentle heat can draw buried oil toward the surface, where you can remove it before the weld begins. If more residue appears, repeat the cleaning process. Why spend extra time here? Oil inside the weld pool can create porosity and interfere with fusion, leaving defects inside a repair that looks acceptable from the outside.
Stop the Crack Before Weld Prep
A crack has concentrated stress at its tip. Before you grind a groove into the damaged area, drill a small hole just beyond each confirmed endpoint. The hole interrupts that narrow stress point and reduces the risk of the crack traveling farther while you prepare the block.
Open the Crack for the Weld
A narrow crack doesn’t leave enough room for filler metal to reach the damaged area below the surface. Grinding the crack into a groove exposes sound metal and gives the weld deposit enough space to penetrate the repair.
Keep the groove smooth rather than leaving sharp internal corners. Sharp edges concentrate stress, which is exactly what you don’t want around a cast iron repair. You don’t need to remove a large amount of material. Focus on exposing the full depth of the damaged section while preserving as much sound casting as possible. Remove all grinding debris before heat enters the block.
Raise the Block Temperature Gradually
Cold cast iron beside an intensely heated weld zone creates a major temperature contrast. The hotter area expands while the colder section resists that movement, which creates internal stress.
Preheat reduces that contrast. Bring the casting toward the required temperature gradually and spread the heat across a broad area instead of concentrating a torch directly on the crack. Your welding procedure and cast iron grade should determine the temperature target.
Control Heat During the Weld
Preheat gets the block ready, but the temperature still needs control while the weld develops. Too much heat concentrated in one section creates greater expansion around the repair, followed by greater contraction as the metal cools.
Short weld deposits limit how much heat enters one area at a time. Give that heat time to spread through the casting before you deposit more filler. A long bead looks quicker on the clock, but speed isn’t the priority with cast iron. You want the area around the weld to remain within the temperature range required by your procedure without creating a sharp hot spot beside cooler metal.
Select the Right Filler Metal
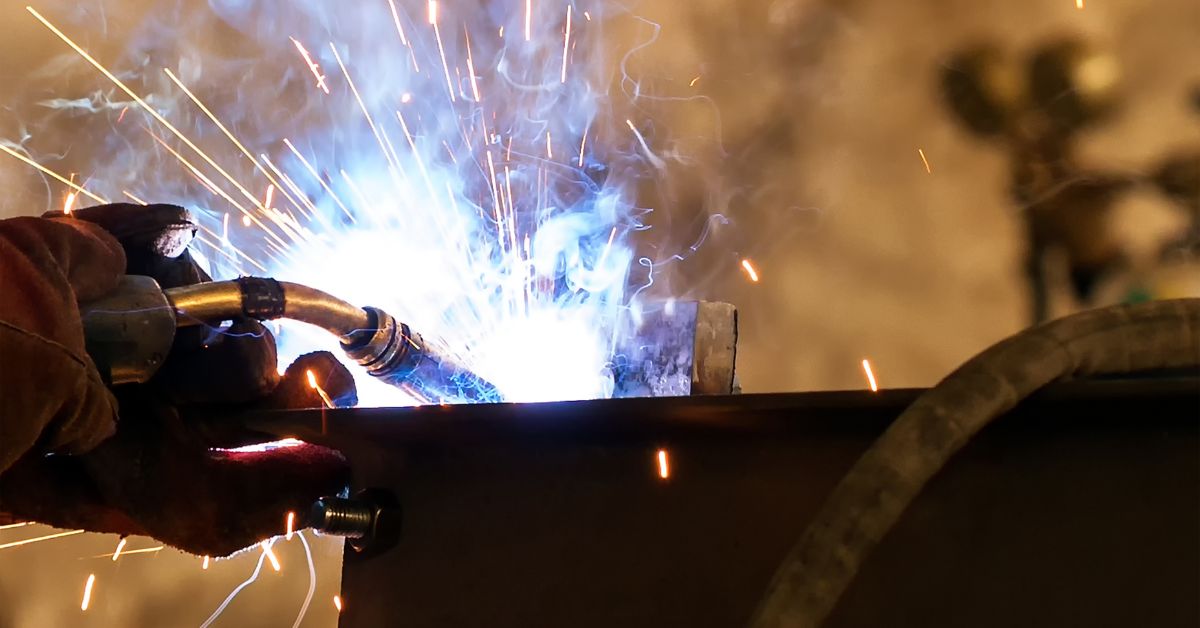
General steel electrodes aren’t a substitute for filler designed to weld cast iron. The filler has to work with the high-carbon base metal without leaving an excessively brittle deposit or an extremely hard heat-affected area.
Nickel-based electrodes are common for cast iron repairs because nickel doesn’t readily combine with large amounts of carbon from the base metal. That characteristic can leave the finished deposit more machinable after the repair. Electrode selection still depends on the casting and the service it will return to. If the repaired surface needs machining afterward, pay close attention to the properties of the filler you choose.
Keep the Weld Deposits Short
Long weld beads introduce more heat and create more movement as the casting expands. When that long section cools, the weld contracts across a larger area and pulls against cast iron that has limited ability to stretch with it.
Short deposits reduce the amount of contraction concentrated in one section. Follow the electrode manufacturer’s recommendations for deposit length and heat input rather than trying to finish the groove in one pass. Each section needs enough fusion to form a sound bond without overheating the casting around it. Slower progress here gives you tighter control over the forces that develop inside the block.
Peen Each Deposit With Care
Fresh weld metal contracts as its temperature falls. Light peening while the deposit remains hot can reduce some of the tensile stress created by that contraction.
Use a small rounded hammer and keep the force controlled. Heavy blows can damage the new deposit or the casting beneath it, so this isn’t the place for aggressive hammering. Focus your peening on the weld metal itself rather than striking the surrounding block. The intent is to counter some of the shrinkage stress before the repair enters its longer cooling period, not to reshape the casting.
Let the Block Cool Slowly
The weld may be finished, but rapid cooling can still create enough thermal stress to crack the repaired area. A hot weld zone that loses temperature much quicker than the surrounding casting contracts against metal that hasn’t cooled at the same rate.
Insulation slows that temperature drop. Cover the block with a suitable welding blanket or place it in another controlled setup that holds heat around the casting. Keep cold air away from the repair and don’t use water or compressed air to shorten the cooldown. Give the entire block time to return to room temperature before you inspect the repair.
Finish the Repair With the Right Materials
Fixing cast iron blocks without post weld cracks is possible when you take your time and keep heat under control from start to finish.
At Muggy Weld, we sell cast iron welding rods specifically made for cast iron repair work. They’re designed for jobs where you need a durable weld without introducing unnecessary stress into the casting. Shop our welding products when you’re ready to repair your cast iron block.