
Custom frames are useful for a wide range of projects, from building structural enclosures to mounting equipment on vehicles or set pieces. But because each frame is, as the name suggests, custom, welding can be tricky to get right.
One of the best materials for welding custom frames is aluminum, thanks to its strength-to-weight ratio and how well it takes to clean welds when you prepare it properly. If you’re working on a custom build and could use a step-by-step for using extrusions to piece together a frame, here’s exactly that.
Gather What You’ll Need Before You Start
Before you strike any arc, having everything within reach keeps the process moving without interruptions.
Equipment:
- TIG or MIG welder with aluminum-compatible settings
- Wire brush (stainless steel, dedicated to aluminum only)
- Angle grinder with flap disc
- Clamps and a flat welding table
- Measuring tape and square
- Protective gear (helmet, gloves, jacket)
Materials:
- Aluminum extrusion sections (cut to your design specs)
- Aluminum filler rod or wire rated for your alloy
- Acetone or a dedicated aluminum degreaser
- Rags or lint-free cloths
One note on the wire brush: using a brush that has touched steel before will contaminate your aluminum. Keep a separate one specifically for this metal.
Know Your Extrusion Profile and Alloy
Not all aluminum extrusions weld the same way. The alloy series your extrusion comes from determines how much heat it can absorb, how prone it is to cracking, and what filler material you need.
The 6000 series, particularly 6061 and 6063, is the most common for structural frames. Both weld well and are widely available. The 6061 carries more strength; the 6063 is smoother and often used for architectural or aesthetic builds. If you’re not sure what series your extrusion is, check with your supplier before you choose a filler.
Also take a close look at the wall thickness of your extrusion. Thinner walls need lower amperage and quicker travel speeds to avoid burning through. Thicker sections need more heat and a longer preheat if you’re working in a cold environment.
Cut and Square Your Pieces
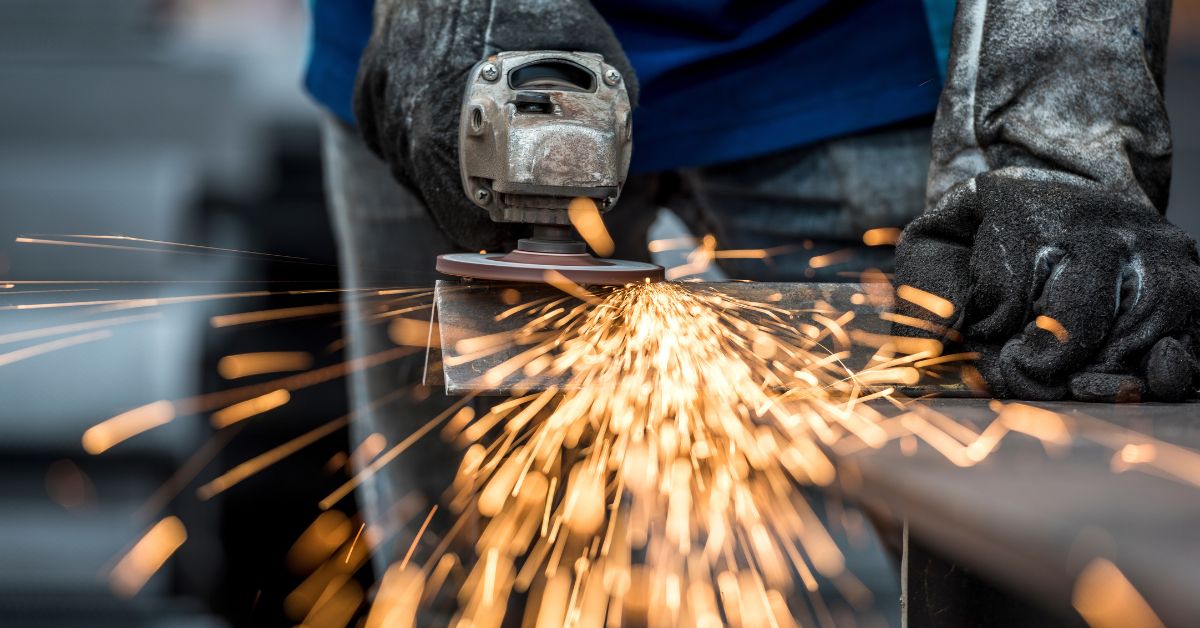
Accurate cuts are what let the joints sit flush. If the angles are even slightly off, you’ll fight the fit-up the entire way through and the finished frame will show it.
Use a miter saw with an aluminum-rated blade, or a chop saw with a carbide tip designed for non-ferrous metals. Cut slowly and let the blade do the work. Forcing the cut heats the aluminum and creates burrs that take extra time to clean up.
After cutting, check each piece against a square before moving to the next step. A slight twist or deviation in the cut face will create a gap at the joint. You can fill small gaps with filler rod, but larger ones weaken the weld. Getting this right now saves a lot of rework later.
Clean the Metal Thoroughly
Aluminum forms an oxide layer on its surface almost immediately after exposure to air. That layer has a much higher melting point than the base metal underneath it, and if you weld over it without cleaning first, you’ll get porosity, incomplete fusion, and weak joints.
Start by wiping every joint area with acetone on a clean cloth. This removes oil, fingerprints, and any residue from handling. Then use your dedicated stainless steel wire brush to scrub the surface in one direction. Scrubbing back and forth can push contaminants deeper into the metal rather than removing them. After brushing, do one more acetone wipe and let it dry completely before welding.
Don’t let cleaned pieces sit for too long before you weld. Aluminum reoxidizes quickly, so the window between cleaning and welding should stay short.
Set Up and Tack Weld Your Frame
With clean pieces ready, the next step is fitting everything together in the right position and holding it there while you weld.
Lay out your extrusions on a flat welding table and use clamps to hold the joints where you want them. A flat table helps support the aluminum as it heats, reducing the risk of warping during welding. Before you commit to any full welds, check every angle with a square and measure diagonally across the frame to confirm it’s square.
Once the layout looks right, place small tack welds at each joint to lock the position. Tack welds don’t need to be large; their job is to keep the frame from moving while you complete the full welds. Space them evenly around the joint so the heat distributes without pulling the piece out of alignment.
Run Your Full Welds
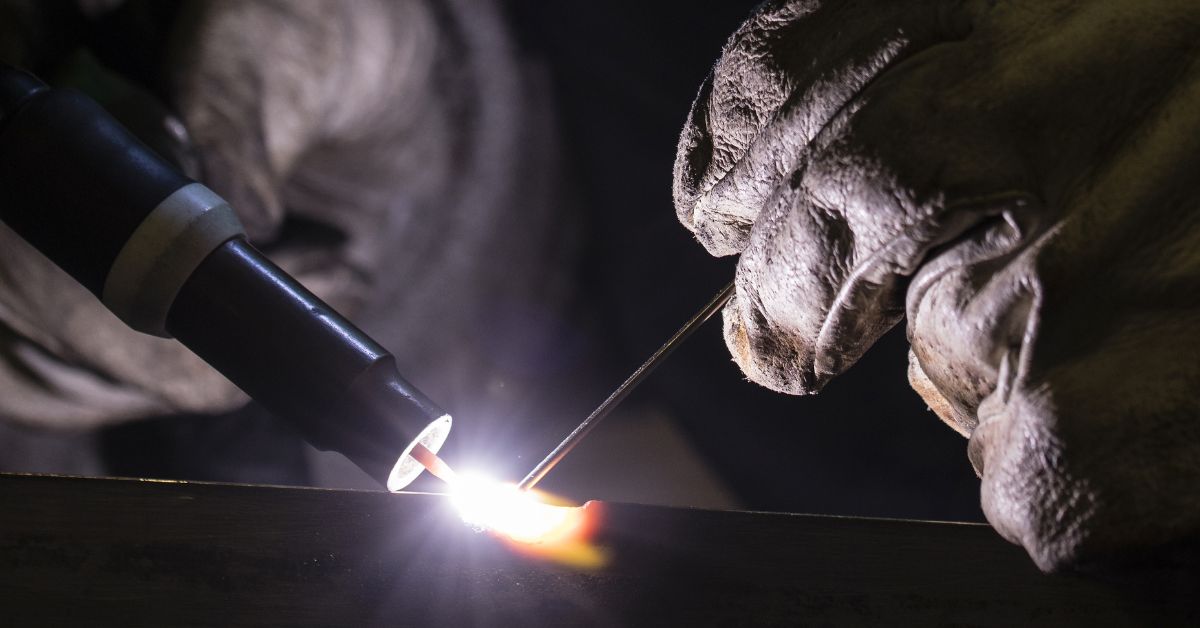
With the frame tacked and confirmed square, you can run your full passes.
For most aluminum extrusion frames, TIG welding gives you the most control, especially at corner joints where you’re working in tight spaces. If you’re using MIG, a spool gun with aluminum wire feeds more consistently than a standard push liner because the wire is softer and prone to kinking over longer distances.
Travel at a consistent speed and keep your torch angle steady. Aluminum loses heat quickly at the edges of the weld pool, so hesitating mid-pass creates an uneven bead. If you’re doing multiple passes on a thicker section, let the joint cool between passes. Running heat into an already-hot joint increases the chance of cracking, particularly in 6061.
At corner joints, watch for burn-through on the inside corner where two walls meet. Dial back your amperage slightly before hitting those areas if you’re TIG welding.
Inspect and Finish the Frame
Once all the welds are complete and the frame has cooled, go back through every joint and inspect each one carefully.
Look for porosity (small pits in the bead), undercutting along the edges, or gaps where fusion didn’t fully occur. Any of those issues need to be ground back and re-welded before the frame goes into service. A weld that looks acceptable from a distance can still fail under load if the fusion is shallow.
After the inspection, use a flap disc to clean up any spatter and smooth out the beads to the profile you want. If the frame is going somewhere visible, a final pass with a scotch-brite pad gives the aluminum a consistent brushed look.
The Frame Is Ready to Use
After completing these steps, you should have a clean, solid custom frame made from aluminum extrusions you can use for structural builds, equipment mounts, or any project where strength and weight both count.
Need supplies before you start working? Muggy Weld is a maintenance welding store that sells everything you need for the build you have planned. Shop our full selection of aluminum welding rods, which are rated to bond to a wide range of aluminum alloys, plus other high-quality products suited for professional and garage-level work alike.