
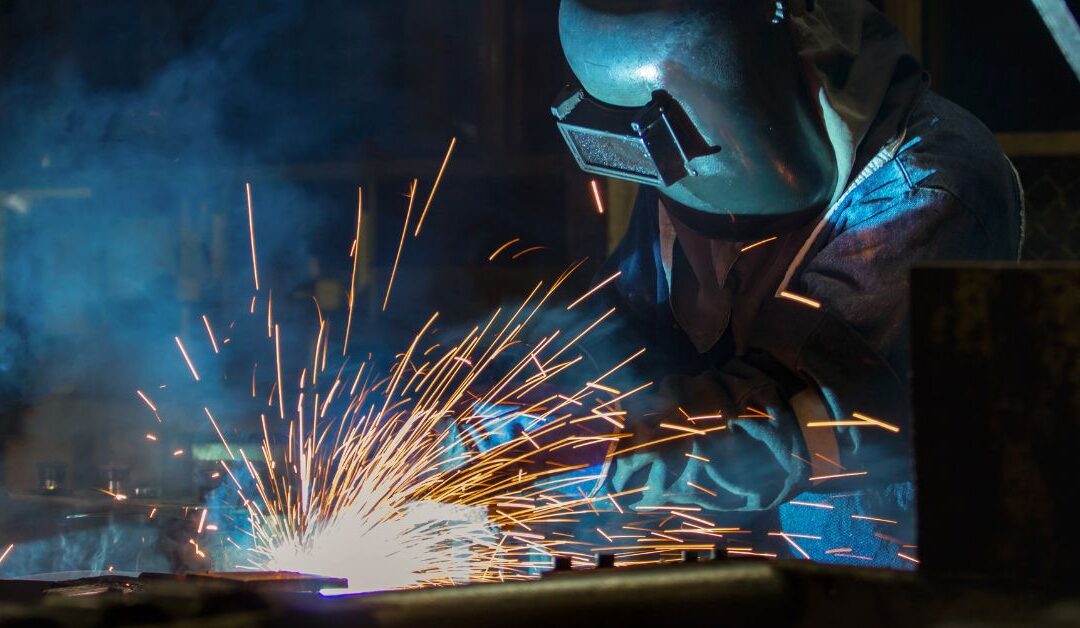
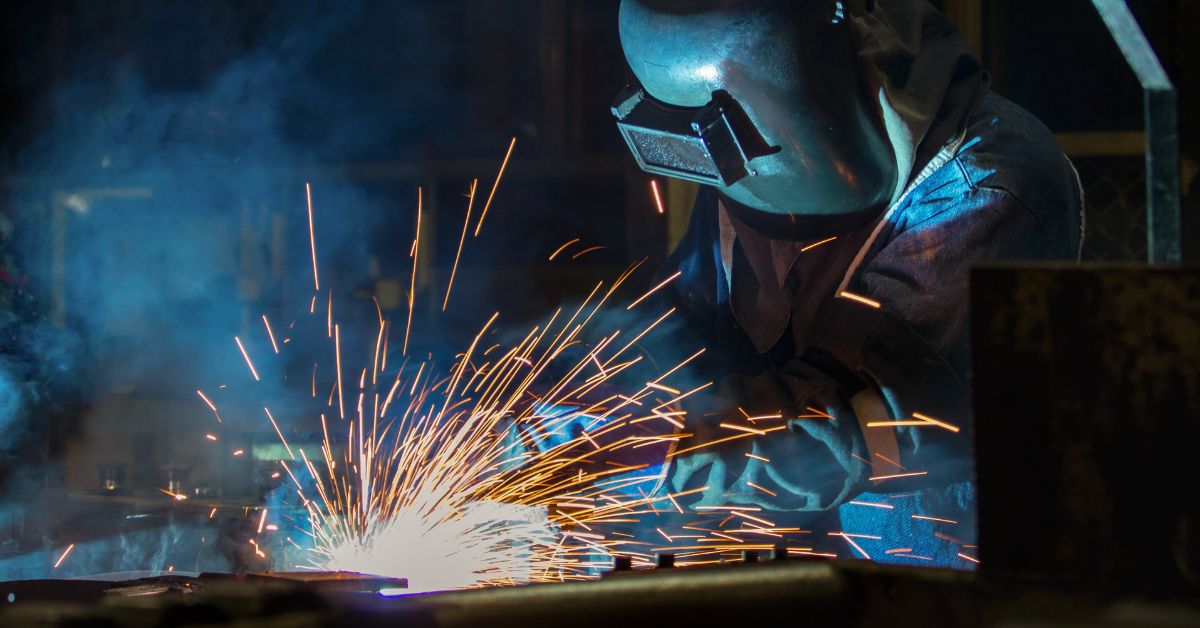
Farm tools, like planters, cultivators, and tillage equipment, are made up of interconnected components that are constantly exposed to heavy vibration, impact loads, and harsh field conditions. Over time, this exposure can crack or fracture the cast iron housing assemblies that protect internal gears, bearings, and shafts.
If you have damaged assemblies you want to repair, you can use arc welding with the right cast iron electrodes to do so. Follow these steps for welding cast iron assemblies for farm tools and get your equipment back in service without waiting on replacement parts or outside labor.
Identify the Damage Before You Touch the Metal
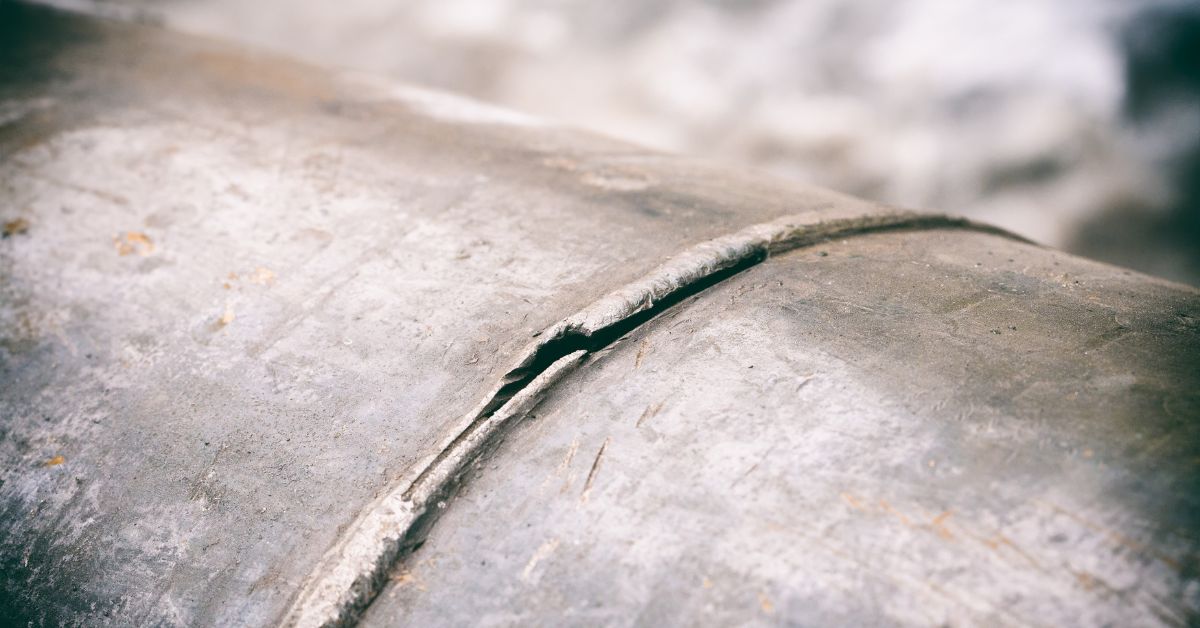
Before anything else, take a close look at the crack. Is it a surface fracture or does it run all the way through the wall of the housing? Surface cracks and through-cracks both need welding, but through-cracks require more passes and closer attention to heat management.
Run your finger along the crack line. If the edges feel sharp and the crack is tight, the housing probably hasn’t shifted. If the edges are raised or the gap is wide, the casting may have warped slightly under stress. That doesn’t mean it’s not weldable, but you’ll want to track how it sits in the assembly before you start so you’re welding it back into the right position.
Clean the Joint Down to Bare Metal
Cast iron housing assemblies on farm tools collect grease, oil, and compacted dirt over years of field use. Any contamination left in the joint will cause porosity in the weld, which weakens the repair from the inside out.
Wire brush the area first to knock off loose debris. Then degrease the joint with acetone or a similar solvent and let it dry completely. If the housing has been painted, grind the paint back at least an inch on each side of the crack. You’re welding to the base casting, not the surface coating. Clean bare metal gives the weld the best foundation for a repair that holds.
V-Groove the Crack for Better Penetration
A cast iron crack that’s left as-is gives the weld bead nowhere to go. Grinding a V-groove along the crack opens the joint so the electrode can fully fuse with both sides of the fracture instead of just sitting on top.
Use an angle grinder with a cutting disc to open the crack into a shallow V-shape. You don’t need to go deep. Somewhere around 60 to 75 percent of the wall thickness is enough. The groove gives the weld metal room to bond into the base casting, and that mechanical connection is what holds the repair under load.
Preheat the Housing to Reduce Cracking Risk
Cast iron is brittle compared to mild steel. When heat moves through it unevenly, the thermal stress alone can start new cracks before you’ve even laid a bead. Preheating brings the whole casting up to a stable temperature so the weld zone isn’t the only area expanding.
For most cast iron housing repairs, a preheat range of 500 to 1,200 degrees Fahrenheit works depending on the thickness and grade of the casting. Use a propane torch and move it slowly across the housing, not just at the crack. An infrared thermometer lets you check temperature without guessing. The goal is even heat throughout the part, not just a hot spot at the joint.
Select the Right Electrode for Cast Iron
Not every welding rod handles cast iron well. The electrode you choose has to tolerate the carbon content of cast iron without becoming brittle at the weld zone. Nickel-based electrodes are the standard for this kind of work because nickel stays ductile as it cools, which lets the weld flex slightly instead of cracking under stress.
A 55 percent nickel electrode works for most cast iron housing repairs. If you’re working with a thicker section or a housing that sees extreme load, a 99 percent nickel rod gives you more ductility at a higher cost. Match the electrode to what the housing actually needs, not just what’s available on the shelf.
Weld in Short Passes and Peen as You Go
Cast iron doesn’t tolerate long continuous weld runs. The heat buildup from a long bead contracts the metal unevenly as it cools, and that contraction stress can crack both the weld and the surrounding casting.
Weld in short passes of about an inch at a time. After each pass, lightly peen the bead while it’s still warm using a chipping hammer. Peening puts the weld metal into slight compression, which counters the tensile stress that builds up during cooling. Let each pass cool until you can hold your hand near it comfortably before laying the next one. Slow and steady wins the race here. Rushing the heat cycle is the most common reason cast iron repairs fail.
Cool the Housing Slowly After Welding
How you cool the housing after welding matters as much as how you welded it. Dropping the temperature too quickly introduces the same thermal stress you worked to avoid during preheat. The casting needs time to normalize.
Once the weld is complete, wrap the housing in a welding blanket or bury it in dry sand. Both methods slow the cooling rate so the temperature drops gradually across the whole part. Avoid any temptation to speed things up with compressed air or cold water. Let the casting cool on its own over several hours. If you have access to a heat-treating oven, a controlled cool-down cycle gives you the most consistent result.
Grind and Inspect the Finished Weld
After the housing has cooled completely, grind the weld bead flush with the surrounding surface. A smooth weld that doesn’t protrude into any mating surfaces is what you’re after, especially on housings that bolt up to other components.
Inspect the repair visually for porosity, undercut, or gaps along the weld toe. If you see small pits or voids, those areas didn’t fully fuse. A quick wire wheel pass followed by dye penetrant testing tells you whether the repair is solid before the housing goes back into service. It’s a straightforward check that can save you from pulling the assembly apart again.
Reassemble and Test Under Load
With the housing repaired and inspected, reassemble the farm tool and torque all fasteners to spec. Don’t skip this step. An under-torqued housing can shift under load and stress the weld at exactly the wrong moment.
Run the equipment through a short test cycle before putting it back to full field work. Listen for anything unusual at the repaired housing. A good weld on a properly prepared casting won’t show any movement, leakage, or noise. If everything checks out, the repair is done.
Your Repair Holds When the Foundation Is Right
Welding cast iron assemblies for farm tools takes patience and the right technique, but it’s easier than it sounds. With the right prep, the right electrode, and a controlled cool-down, you’ll have a repair that holds up through full seasons of field work.
At Muggy Weld, we have the cast iron welding rods you need to get the job done right the first time. Our rods are designed for ductile, reliable bonds on cast iron so you’re not rewelding the same crack twice. Stock up today.