
There are countless metals that work well for welding projects, from aluminum with its lightweight strength to stainless steel with its corrosion resistance.
One of the more challenging materials you can use is cast iron. Cast iron has a high carbon content, which makes it prone to cracking under the thermal stress of welding. For beginners, a successful weld can feel impossible; even experienced welders have trouble with its brittleness and susceptibility to fracture. But while it’s tough to handle, cast iron is, in fact, weldable. This ultimate guide will run you through how to weld cast iron step by step.
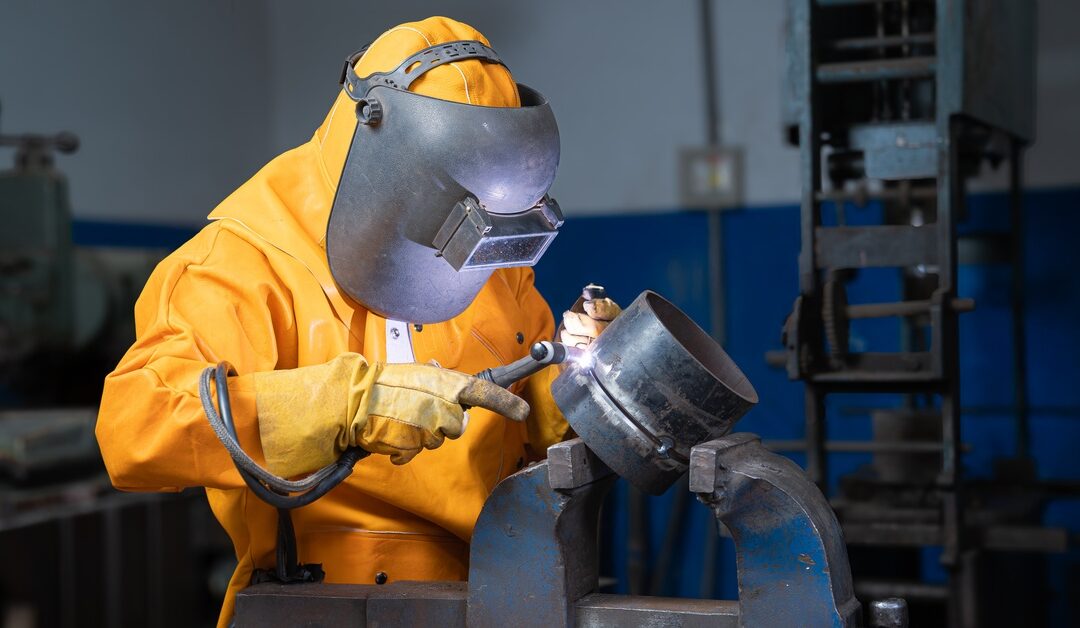
Safety First
Welding always comes with risks, and you should take care to follow proper safety protocols. Fumes from welding cast iron can be hazardous, so work in a well-ventilated area and use a respirator if needed.
The pre-heating and slow cooling steps involve handling extremely hot materials, so wear appropriate personal protective equipment (PPE). This includes flame-resistant clothing, high-temperature gloves, and a welding helmet with a shade lens. Always have a fire extinguisher nearby and be mindful of your surroundings to prevent any accidents. Safety should be your top priority throughout the entire welding process.
Identify the Cast Iron Type

Before you strike an arc, you need to identify the type of cast iron you’re working with. There are several varieties, each with unique properties that affect how it responds to heat. Common types include grey, white, ductile, and malleable iron. Grey iron is the most prevalent, but it’s also one of the more difficult types to weld due to its graphite structure.
You can perform a spark test to get a general idea of what type of cast iron you have. Using a grinder, touch the metal to the wheel and observe the sparks. Grey cast iron produces reddish-yellow sparks that are short and have few branches. Ductile iron creates longer, more complex orange-to-yellow sparks. This identification process helps you select the correct electrode and welding technique.
Prepare the Surface Properly
One of the first steps to any successful weld is preparing the surface by cleaning it thoroughly to remove any contaminants. This step is especially important when you’re working with cast iron. Cast iron is porous and can absorb contaminants like oil, grease, and paint over time. These impurities will release gases when heated, which creates porosity and weakens the weld.
Start by cleaning the area around the joint with a wire brush and a degreaser. Remove any surface impurities until you see clean, bare metal. For cracks, you need to “V” out the groove using a grinder. This preparation creates a channel for the filler metal to penetrate deeply, which produces a stronger bond. Be sure to round the bottom of the “V” to reduce stress concentrations.
Preheat the Cast Iron
Preheating is arguably the most fundamental step in welding cast iron. The high carbon content of the metal makes it brittle and susceptible to cracking when exposed to rapid temperature changes. By slowly preheating the entire casting, you reduce the thermal gradient between the weld zone and the rest of the workpiece.
You should aim for a preheat temperature between 500°F and 1250°F (260°C to 675°C), depending on the size and complexity of the casting. You can use a temperature-indicating crayon to monitor the heat. Apply heat slowly and evenly with a torch to avoid creating new stress points. For large or intricate parts, a furnace or oven provides the most uniform heating.
Choose the Right Welding Rod
The welding rod, or electrode, you choose will have a direct impact on the quality of your weld. You need a filler metal that’s compatible with cast iron and can accommodate its unique characteristics. There are several options available, with nickel-based rods being the most popular.
Nickel rods are machinable and have a lower coefficient of expansion than steel, which helps prevent cracking as the weld cools. A 99 percent nickel rod (AWS A5.15 ENi-CI) is excellent for single-pass repairs on thin sections. For thicker sections or for joining cast iron to steel, a 55 percent nickel rod (AWS A5.15 ENiFe-CI) offers greater strength and ductility.
Use the Correct Welding Technique

Your welding technique needs to account for cast iron’s sensitivity to heat. You want to minimize heat input as much as possible to prevent thermal shock. One effective method is the short-bead technique. This involves laying down short, straight beads about one inch long.
After you lay each bead, use a peening hammer to gently tap the weld. Peening helps relieve the contractional stresses that build up as the metal cools. You should use a rounded tool and light-to-moderate force; the goal is to stretch the weld bead, not deform it. This process makes the weld more ductile and less likely to crack.
Control the Cooling Process
Just as pre-heating is necessary, a slow and controlled cooling process is equally needed to prevent post-weld cracking. Rapid cooling will cause the weld and the surrounding heat-affected zone (HAZ) to become hard and brittle. You want the entire casting to cool down as slowly and uniformly as possible.
Immediately after you finish welding, cover the entire workpiece with a fire-retardant welding blanket. For smaller parts, you can bury them in a container of dry sand or vermiculite, which are excellent insulators. The idea is to trap the heat and let it dissipate over several hours, sometimes even overnight. Don’t use water or compressed air to speed up cooling.
Post-Weld Cleanup and Inspection
Once the casting has completely cooled to room temperature, you can proceed with the final steps. Remove the insulating blankets or sand and clean off any remaining slag from the weld bead. A wire brush or a chipping hammer will work well for this.
After cleanup, you need to inspect the weld for any defects. Look closely for cracks, porosity, or any signs of incomplete fusion. A liquid dye penetrant test is a reliable method for detecting surface cracks that aren’t visible to the naked eye. If the weld passes inspection, you can then machine or grind it flush with the surrounding surface if required.
Finalizing Your Cast Iron Welds
This ultimate guide to welding cast iron exists to make your work easier. This metal is incredibly finicky, but by using these tips, you can increase your success rate and churn out some quality welds.
At Muggy Weld, we have all the supplies you need to effectively weld with cast iron. We’re an online welding supply store that carries everything from solders to specialized electrodes. Shop our collection and pick up what you need for your next attempt at welding with this unique metal.