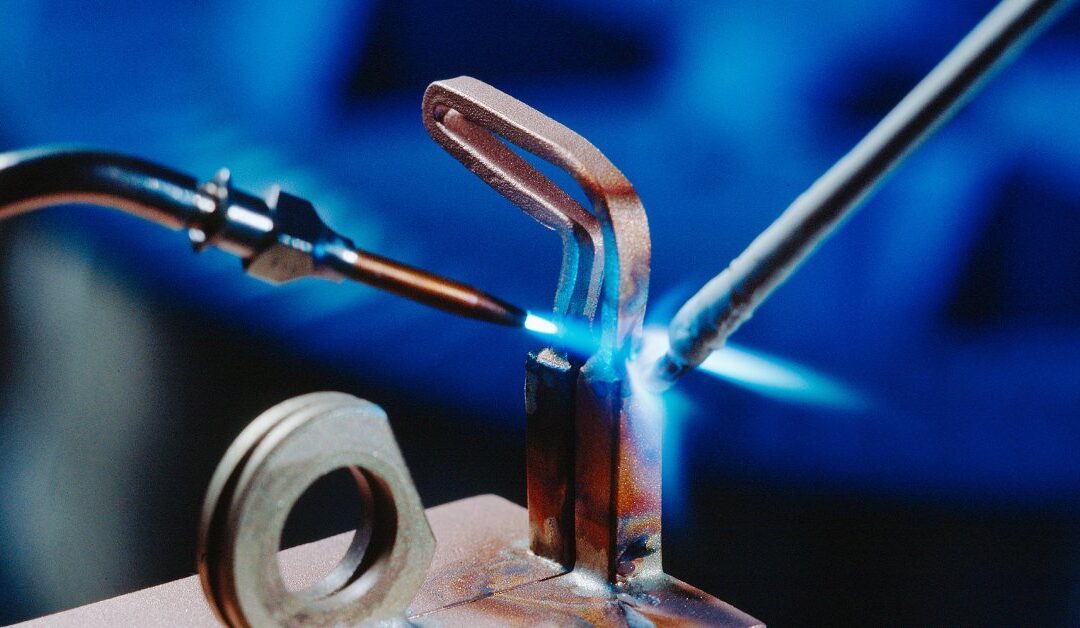
Brazing is a technique in welding where you join two metal parts together using a filler metal that melts at a lower temperature than the base metals. It’s something many welders have to do regularly, so you’ll need to know this if you’re learning to weld.
If you’ve never done it before, brazing can seem intimidating. But don’t worry—this step-by-step guide to brazing metal will walk you through the entire process. We’ll cover the materials you need, proper techniques, and safety tips to get you started.
What Do You Need To Braze?
Getting the right materials and equipment sets you up for success. Here’s what you’ll need for your brazing project.
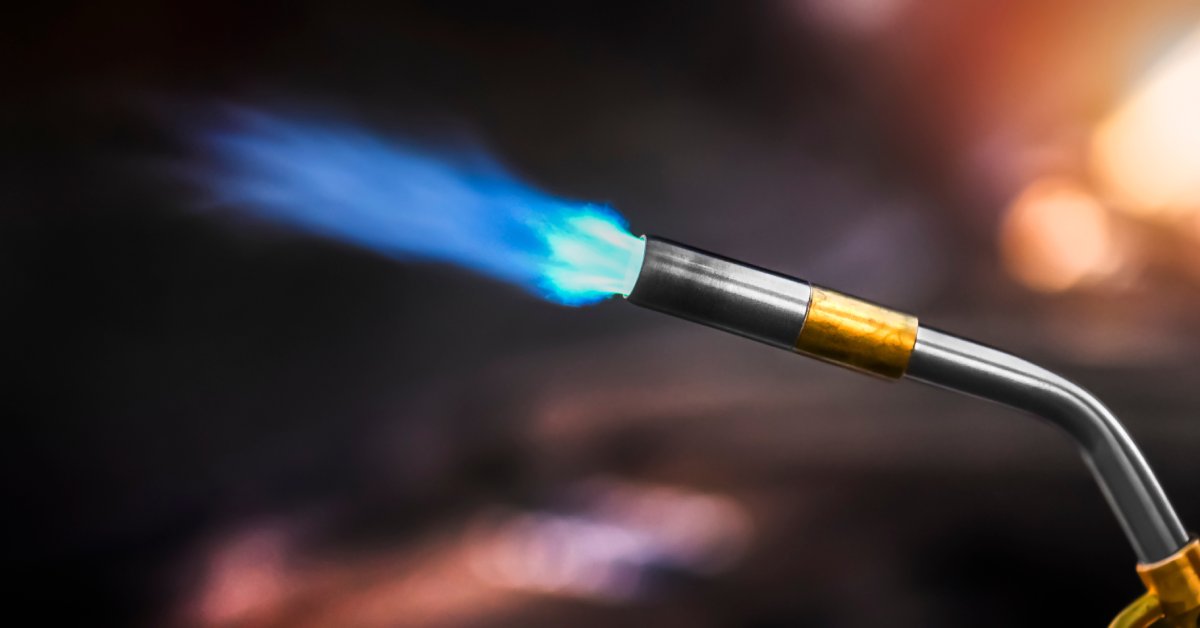
Torch and Fuel
You’ll need a reliable torch to heat your metals. Most beginners start with an oxy-acetylene torch, which gives you precise temperature control. Propane torches work too, but they don’t get as hot and might limit which metals you can braze.
Make sure you have enough fuel for your project. Running out of gas mid-braze can ruin your joint.
Brazing Rod or Wire
The brazing rod is your filler metal. Different rods work for different applications:
- Silver-based rods: Great for copper, brass, and steel joints
- Brass rods: Perfect for steel-to-steel connections
- Aluminum rods: Designed specifically for aluminum brazing
Choose a rod that’s compatible with your base metals and has a melting point lower than what you’re joining.
Flux
Flux cleans the metal surfaces and prevents oxidation during the brazing process. It helps the brazing material flow smoothly and bond properly.
Pick a flux that matches your brazing rod. Some rods come pre-coated with flux, which saves you a step.
Base Metals
Not all metals work well for brazing. Here are the ones you can braze successfully:
- Steel: One of the easiest metals to braze
- Copper: Brazes beautifully with proper technique
- Brass: Works well but needs careful temperature control
- Bronze: Similar to brass in brazing characteristics
- Stainless steel: Requires special flux and technique
Avoid aluminum unless you have specialized equipment and experience. Cast iron can be tricky, too.
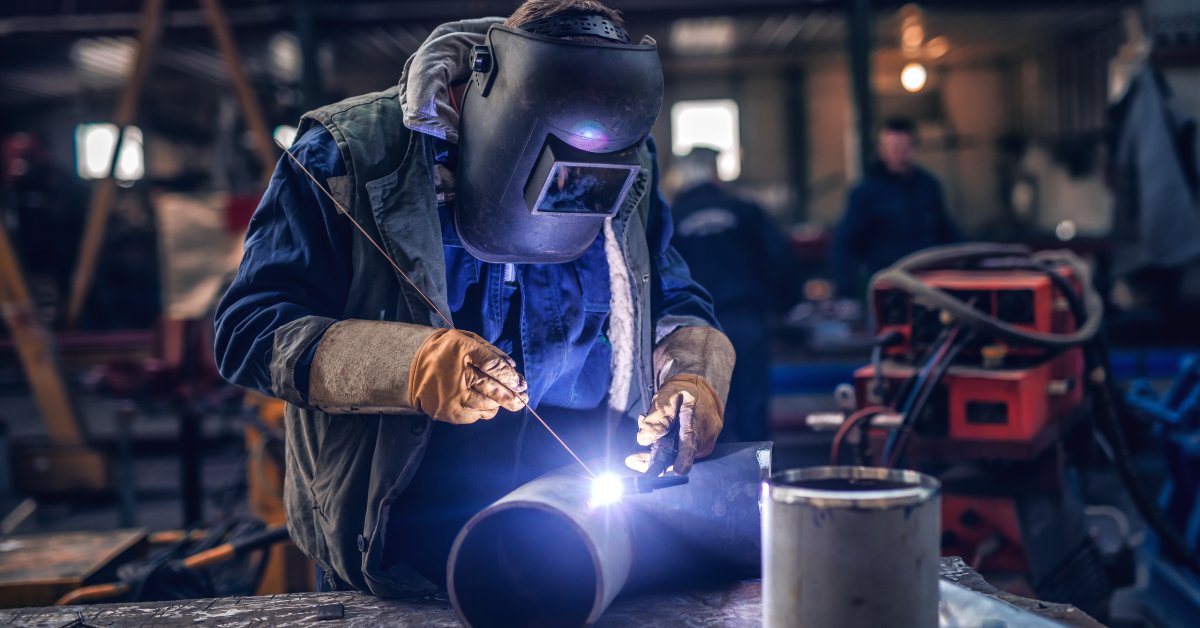
Safety Equipment
Never skip safety gear. You’ll need:
- Safety glasses or welding goggles
- Heat-resistant gloves
- Long sleeves and pants
- Well-ventilated workspace
Step-by-Step Instructions for Brazing
Now let’s get into the actual brazing process. Follow these steps carefully for the best results.
Step 1: Clean Your Metals
Start by cleaning both pieces of metal thoroughly. Remove any dirt, grease, paint, or rust from the joint area. You can use a wire brush, sandpaper, or chemical cleaner.
Clean metal creates stronger bonds. Dirty surfaces prevent the brazing material from flowing properly.
Step 2: Fit the Joint
Position your pieces so they fit together snugly. The gap between them should be about 0.002 to 0.005 inches—just enough for the brazing material to flow through.
If your gap is too wide, the joint won’t be strong. Too narrow, and the brazing material can’t penetrate properly.
Step 3: Apply Flux
Brush or dip flux onto the joint area and the brazing rod. Don’t use too much—a thin, even coat will do the job.
The flux will bubble and change color as you heat it. This is normal and helps you gauge the temperature.
Step 4: Heat the Joint
Light your torch and adjust the flame. You want a neutral flame—not too oxidizing or too reducing.
Heat both pieces of metal evenly, moving the torch in a circular pattern. Focus more heat on the thicker piece since it takes longer to warm up.
Step 5: Test the Temperature
Touch the brazing rod to the joint periodically. When the metal is hot enough, the rod will start to melt on contact.
Don’t heat the rod directly with the torch. The base metal should be hot enough to melt the rod.
Step 6: Add the Brazing Material
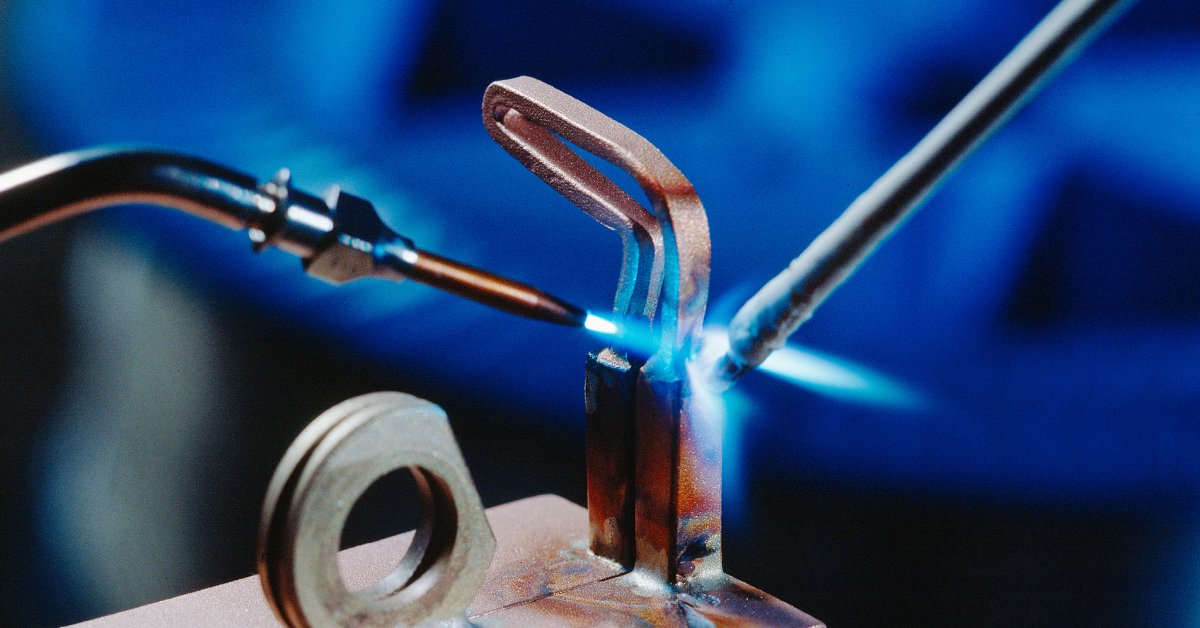
Once the metal reaches the right temperature, feed the brazing rod into the joint. The molten material should flow smoothly through the gap.
Move the rod along the joint steadily. The brazing material will follow the heat and fill the joint completely.
Step 7: Cool Down
Turn off your torch and let the joint cool naturally. Don’t quench it with water or force cooling, as this can crack the joint.
The flux will form a glassy coating as it cools. You can chip this off later with a wire brush.
Tips for Successful and Safe Brazing
Brazing, like all welding techniques, requires precision and attention to detail to achieve the best results. It also demands careful safety precautions, as you’ll be working with high temperatures and potentially hazardous materials. To succeed in your brazing projects, here are some essential tips that will help you improve your results and prioritize safety throughout the process.
- Practice your torch technique on scrap metal before tackling your real project. Getting comfortable with heat control takes time.
- Keep your workspace organized and free of flammable materials. Have a fire extinguisher nearby just in case.
- Work in a well-ventilated area to avoid breathing toxic fumes from flux and heated metals.
- Don’t rush the heating process. Gradual, even heating produces stronger joints than quick, intense heat.
- Watch the flux behavior to gauge temperature. It’ll tell you when your metal is ready for brazing material.
- Clean your equipment after each use. Flux residue can damage your torch and other tools over time.
- Store brazing rods properly in a dry place to prevent corrosion and contamination.
- Plan your joint access before you start. You need to be able to reach all areas with both your torch and brazing rod.
- Practice different joint types like butt joints, lap joints, and T-joints to build your skills.
- Keep spare materials on hand in case something goes wrong mid-project.
Master the Art of Metal Joining
Learning to braze will take some trial and error, but by following this step-by-step guide to brazing metal, you should be able to get the basics down fairly easily. Start with simple projects and work your way up to more complex joints.
The key is consistent practice and patience. Each project teaches you something new about heat control, material flow, and joint preparation.
If you need supplies to practice brazing or for when you feel confident enough to take on that big project, Muggy Weld is an online welding shop that has all you need. We carry brazing rods, torches, flux, and other welding supplies. Come see what we have on offer to get your next brazing project started right.