Solder Copper with Super Alloy 1: How to Create a Seam with Low Temp Solder
For this video demonstration we created a joint with two thin pieces of copper, then joined the parts to make a seam, and soldered the joint with Super Alloy 1.
We used a propane torch for this application; however, Super Alloy 1 solder can be applied using almost any heat source: propane, butane, heat gun, soldering iron, oxyacetylene and more. Super Alloy 1’s low 350°F working temperature ensures an even flow regardless of torch.
First, secure the parent metal to be joined. Heat Freeze Heat Paste can be helpful for this task, or the parts can be secured with a vice if necessary.
After securing the part and pre-cleaning the parent metal to ensure proper bonding, dip the copper solder rod into the flux and apply the flux to the work area. Gently and broadly pre-heat the copper evenly with the torch to gradually bring the copper up to 350°F. No need to worry, Super Alloy 1’s honey colored flux is specially designed to transform from honey colored to root beer brown when the copper reaches 350°F, acting as a visual temperature guide to prevent overheating the copper.
When the flux changes color, add a drop of the copper solder rod to bond the joint, then apply more flux and rod to fill the seam. If cosmetics are a concern and you wish to hide the seam, simply add more flux and flow the copper solder until it flattens out.
Notice the seam, sealed front to back (30,000 psi) with solder.
Allow the copper part to cool naturally, then remove excess flux with a wire brush and warm water.
Super Alloy 1 can be used to solder many metals–individually or in any combination: copper, zamak, aluminum, brass, pot metal, bronze, copper, zinc die cast, steel, pewter, and spelter.
Disclaimers:
Please visit https://www.aws.org/Standards-and-Publications/Free-Resources/#YourResources prior to using Muggy Weld products, and adhere to all AWS welding safety guidelines.
Further product safety information is available at http://muggyweld.com/safety-guidelines
Muggy Weld LLC shall not be liable for any loss, injury, claim, liability, or damage of any kind resulting in any way from (a) your use of this Site, (b) any services or products obtained from this Site, (c) any errors in or omissions from this Site, (d) the unavailability or interruption of this Site or any features thereof, (e) any content contained on this Site.
MSDS sheets available with purchase from MuggyWeld.com, upon request.
Check Out These Products
-
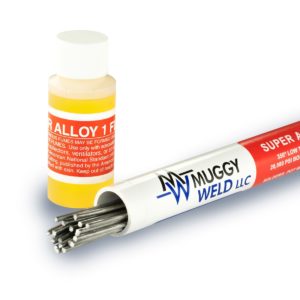
Super Alloy 1 Pot Metal Solder and Multi-Metal Solder
Price range: $69.00 through $109.00350º F multi-metal solder joins pot metal and all white metals, in any combination🌡 Melting Temperature 350 / 177 ⇄︎ Bonding Strength 20000 psi, 137.89 MPa -
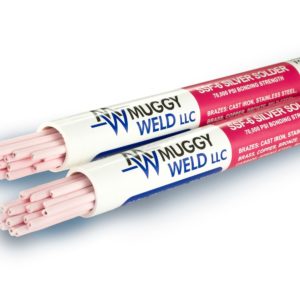
SSF-6 Silver Solder Rod: Flux-Coated SSF-6 56% Brazing Rod
Price range: $69.00 through $260.00High-Strength, 56% Silver Solder Rod🌡 Melting Temperature 1150 / 621 ⇄︎ Bonding Strength 70000 psi, 482.63 MPa 🔧︎ Sizes Available (in) 1/16 🔧︎ Sizes Available (mm) 1.58 -
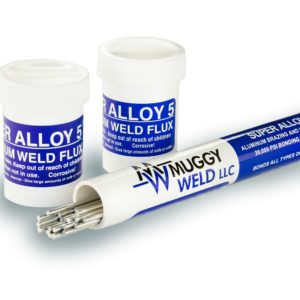
Super Alloy 5 Aluminum Welding and Brazing Rod
Price range: $69.00 through $109.00600°F aluminum welding, brazing, and soldering rod. Ideal for aluminum boat repair and cast aluminum.🌡 Melting Temperature 600 / 317 ⇄︎ Bonding Strength 30000 psi, 206.84 MPa