Brazing stainless steel demonstration is an easy task with SSF-6 Silver Solder and a propane torch.
For this video, we used two stainless steel washers to simulate joining stainless steel parts in a maintenance repair setting. These techniques are useful for repairing any stainless steel parts–including hospital and restaurant equipment (SSF-6 is cadmium-free and food safe)
Effective for brazing stainless steel:
- work tables, mixer tables, dish tables, sample & demo tables
- equipment stands
- pretzel warmers
- pulp extractors
- metal shelving
- underbar work stations
- ice bins
- display racks
- sinks
- countertops
- steam tables
- food wells
- soup warmers
- chip warmers
- banquet carts and cabinets
- refrigeration units
Stainless steel has a fairly high melting point of 2750°F, so SSF-6’s working temperature of 1150°F allows quite a bit of wiggle room when brazing stainless steel. This unique flux-covered silver solder rod can bond a variety of metals including steel, stainless, copper, cast iron, bronze and more with a resulting bond of 70,000 psi.
Here’s the technique for brazing stainless steel:
After pre-cleaning both stainless steel parts with sandpaper, emory cloth or a similar abrasive material, position both parts to create a joint atop a barrier such as a piece of wire. Positioning the parts on a barrier allows the heat from the torch to flow directly to the stainless steel parts without heat diffusion.
Broadly heat the stainless steel, continuously moving the torch. You’ll notice the stainless steel begins to turn a dull red color, indicating it is time to apply the flux. Touch the rod to the joint and melt off a small amount of flux. The flux will flow into the joint and prepare the metal for bonding. Wherever the flux goes, the rod flows–1 inch of silver solder flows 18 inches, making SSF-6 an economical solution for most stainless steel brazing applications.
Apply a small dot of SSF-6 to the joint by melting the end of the rod with your torch, then use the torch to guide the silver solder in under around and through the joint. If necessary, add more flux to increase the flow and seal the bond.
Excess flux can be removed with a wire brush and warm water, then the stainless steel parts can be polished or buffed and reattached.
Disclaimers:
Please visit https://www.aws.org/Standards-and-Publications/Free-Resources/#YourResources prior to using Muggy Weld products, and adhere to all AWS welding safety guidelines.
Further product safety information is available at http://muggyweld.com/safety-guidelines
Muggy Weld LLC shall not be liable for any loss, injury, claim, liability, or damage of any kind resulting in any way from (a) your use of this Site, (b) any services or products obtained from this Site, (c) any errors in or omissions from this Site, (d) the unavailability or interruption of this Site or any features thereof, (e) any content contained on this Site.
MSDS sheets available with purchase from MuggyWeld.com, upon request.
Check Out These Products
-
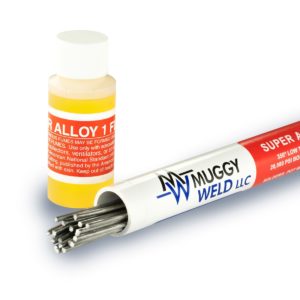
Super Alloy 1 Pot Metal Solder and Multi-Metal Solder
Price range: $69.00 through $109.00350º F multi-metal solder joins pot metal and all white metals, in any combination🌡 Melting Temperature 350 / 177 ⇄︎ Bonding Strength 20000 psi, 137.89 MPa -
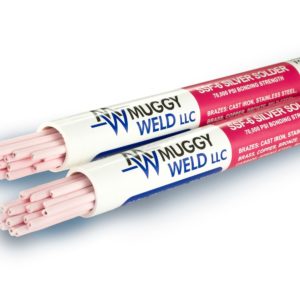
SSF-6 Silver Solder Rod: Flux-Coated SSF-6 56% Brazing Rod
Price range: $69.00 through $260.00High-Strength, 56% Silver Solder Rod🌡 Melting Temperature 1150 / 621 ⇄︎ Bonding Strength 70000 psi, 482.63 MPa 🔧︎ Sizes Available (in) 1/16 🔧︎ Sizes Available (mm) 1.58 -
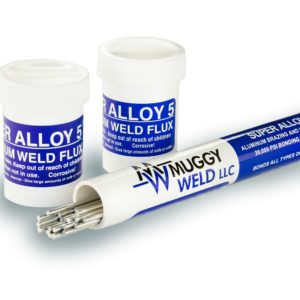
Super Alloy 5 Aluminum Welding and Brazing Rod
Price range: $69.00 through $109.00600°F aluminum welding, brazing, and soldering rod. Ideal for aluminum boat repair and cast aluminum.🌡 Melting Temperature 600 / 317 ⇄︎ Bonding Strength 30000 psi, 206.84 MPa