Beginner series: Aluminum evaporator repair
Tawny, an inexperienced welder, is attempting to solder and braze two holes in very thin aluminum evaporator tubing. She has never repaired aluminum in any fashion before this video was taken.
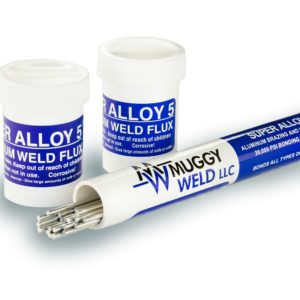
For the first repair, Tawny uses Super Alloy 5 rod and powder flux. Before beginning the repair, she gently heats the parent metal before heating the end of the rod and dipping the rod into the flux to transfer the flux to the aluminum tubing.
Notice Tawny holds the torch directly above her work area so the flame will mushroom out in all directions, achieving even heating. When she sees the flux turns from a gray thicker liquid into a thin transparent watery consistency, she applies the rod while heating the parent tubing and the rod at the same time. As soon as she sees it flow out flat she quickly removes the heat to prevent melting her parent aluminum.
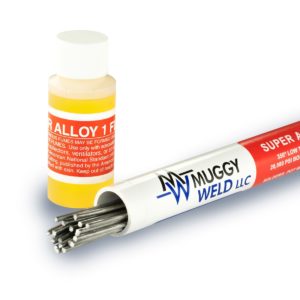
The second repair is made with Super Alloy 1 using a different technique (soldering), since Super Alloy 1 works at a lower temperature. First, she cleans the area with a wire brush or any other abrasive product., then adds the flux before heating. Tawny carefully moves the torch back and forth to bring the aluminum parent metal to a proper working temperature.
It’s best to heat around the flux as you want the flux to turn brown from the heated tubing not from the torch itself. When the flux turns brown simply rub the rod and or lay the rod in place. If the rod does not melt on contact continue heating and try again until the rod melts. Both fluxes can be removed easily with a wire brush and warm water after the parts have cooled.
Disclaimers:
Please visit https://www.aws.org/Standards-and-Publications/Free-Resources/#YourResources prior to using Muggy Weld products, and adhere to all AWS welding safety guidelines.
Further product safety information is available at http://muggyweld.com/safety-guidelines
Muggy Weld LLC shall not be liable for any loss, injury, claim, liability, or damage of any kind resulting in any way from (a) your use of this Site, (b) any services or products obtained from this Site, (c) any errors in or omissions from this Site, (d) the unavailability or interruption of this Site or any features thereof, (e) any content contained on this Site.
MSDS sheets available with purchase from MuggyWeld.com, upon request.
Check Out These Products
-

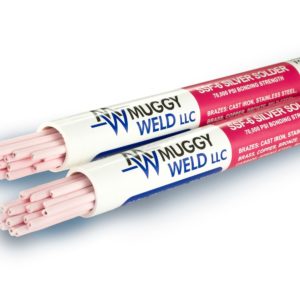
SSF-6 Silver Solder Rod: Flux-Coated SSF-6 56% Brazing Rod
$69.00 – $260.00High-Strength, 56% Silver Solder Rod🌡 Melting Temperature 1150 / 621 ⇄︎ Bonding Strength 70000 psi, 482.63 MPa 🔧︎ Sizes Available (in) 1/16 🔧︎ Sizes Available (mm) 1.58 -

Super Alloy 5 Aluminum Welding and Brazing Rod
$69.00 – $109.00600°F aluminum welding, brazing, and soldering rod. Ideal for aluminum boat repair and cast aluminum.🌡 Melting Temperature 600 / 317 ⇄︎ Bonding Strength 30000 psi, 206.84 MPa

