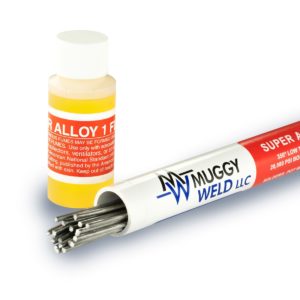
A Muggy Weld customer emailed photos of his vintage Weber carburetor repair, using Super Alloy 1 low temperature rod and flux.
This video features an original Weber IDF carburetor, made in Italy. Weber IDF are downdraft twin bore carburetors used extensively on Porsche, VW Beetles & VW Campervans, Fiat TwinCam, and Ford Escort RS2000 engines. Originally manufactured exclusively for racing, modern Weber carburetors are sold for both off-road and street use and are supplied as high-quality upgrades for problematic original equipment manufacturer carburetors, in the form of Weber conversion kits.
Customer testimonial:
My Super Alloy starter kit was delivered a few days ago. I tried it in a damaged carburetor and it worked perfectly. I’ve been able to patch a crack and a hole and tap a new thread—now it’s back to life. This product is a lifeline for the vintage auto enthusiast. Thank you for your support
Best regards, Ernesto
This particular Weber IDF carburetor is zinc based, making Super Alloy 1 the ideal solution for the repair. We recommend 1/8″ diameter rods and a MAPP gas or propane torch for beginners, since zinc die cast can reach its melting point of 730°F very quickly with an oxyacetylene setup. Zinc and other white metals offer no warning signs before melting.
The key to a great bond is to thoroughly clean the zinc die cast or pot metal part just prior to soldering to remove oxidation or contaminates. Be sure to remove all flammable liquids before soldering.
Begin the removing all contaminants including grease and oil from the threaded hole, then drill out the hole slightly larger than the original.
Next, use a hand held torch to bring the parent metal to 350°F. Broadly heating the parent metal from numerous angles can help the solder in adhere to all sides of the threaded hole, or some customers have reported using an oven to preheat the metal to 350°F. The Weber IDF carburetor shown in this video was easy to bring up to the 350°F working temperature, since there wasn’t a lot of mass surrounding the work area.
After bringing the parent metal to the proper working temperature, dip the rod in the flux and add the flux to the preheated part before applying the rod. Super Alloy 1 liquid flux is an ideal temperature guide–when the flux starts to bubble, smoke, and turn brown, this is an indication it’s time to add the filler rod.
With Super Alloy 1 rod and flux, this “impossible” repair was made quickly and easily.
Note: Please observe all AWS Safety & Health Guidelines when using Muggy Weld products.

